Tutorials & Videos
Cross Stitch Hoop Finishing Tutorial

Hi Friends!
Welcome to our tutorial for finishing cross stitch patterns in a hoop.
For this tutorial you'll need:
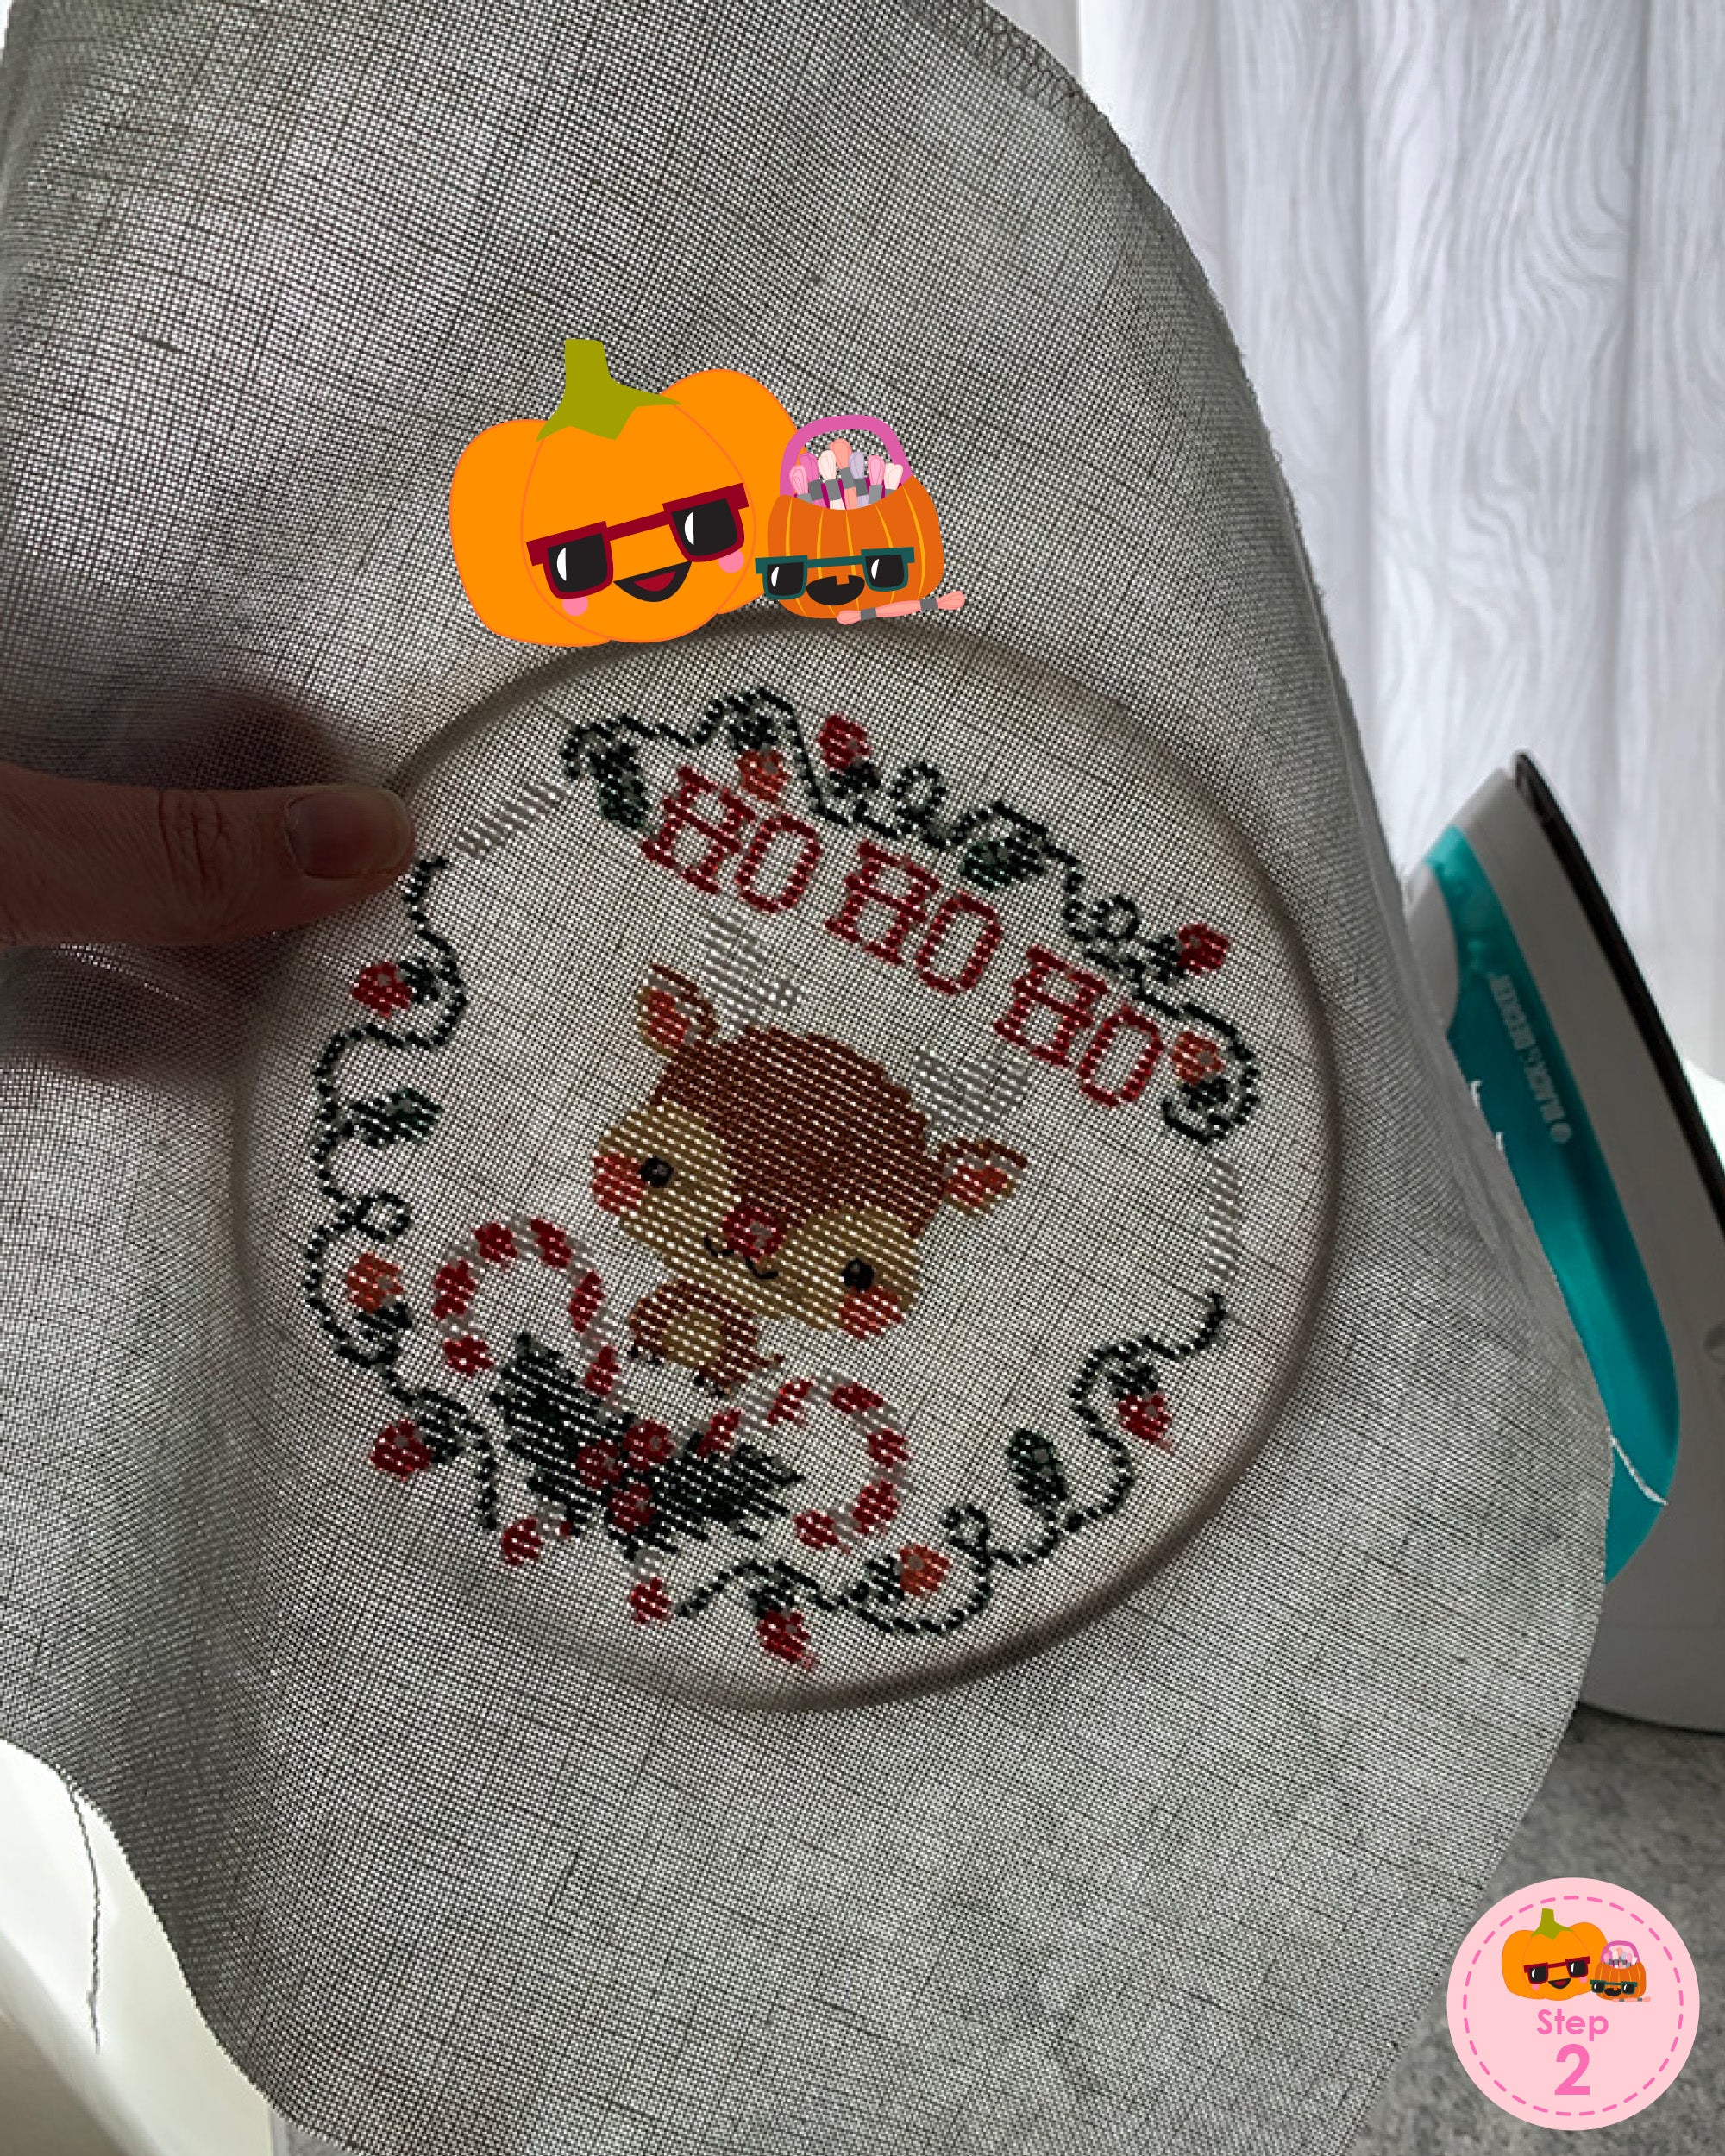
- Your finished cross stitch, pressed nice and flat
- Scissors
- Embroidery or tapestry thread
- A needle
- Glue
- Scrapbook paper
- Clover Clips or clothes pins
- A pencil
- An embroidery hoop. I'm using a 6 inch hoop in this tutorial
- Optional but helpful, thread conditioner such as Robot Mom Sews Thread Gloss


Start by tracing the outer ring of your embroidery hoop on the wrong side of your scrapbook paper and cut it out.

Take apart your embroidery hoop and center your project over the inner ring. I like to find a bright sunny window and hold it up so I can see the hoop behind it.
Add the outer ring and assemble your hoop. It's ok if it's not 100% perfect just yet, we'll be adjusting as we go.

Trim your excess fabric to around 1-1.5 inches. I found a bigger border was a bit easier to work with but you can certainly trim it down smaller. Tug and scoot the project if it needs adjusting.

With a needle threaded with embroidery or tapestry thread, make a knot and then sew a simple running stitch all around the edge of your fabric.


Thread your needle again and lace the back of your project. Depending on how flat your circle became against the hoop, this step may not be necessary. Ashleigh has a lacing tutorial available on our YouTube channel here.

Add a thin layer of glue around your embroidery hoop and lay your cut scrapbook paper with the right side up. I like to use lots of clover clips (available at many needlework and quilting stores) around the edge so the paper stays nice and flat. If you wish to write a note or decorate that piece of paper, it's easier to do so before you glue it in place.

I let my project hang out with the clips on it overnight under a book. It came out nice and flat!

If you decide to hang it, you can use a spare scrap of trim or ribbon to create a loop.
Enjoy your new project!
